A pop-up works because a piece of paper is attached to both halves of the card and folds the opposite way to the card itself. Open the card and that piece is pulled up into a small box or a standing shape. Close it and the piece lies flat again. Three mechanisms cover almost every birthday design: the box step cut from the card, the glued-in strip, and the V-fold.
What You Need
- Cardstock in two weights: 65 lb (176 gsm) for the inner sheet that carries the mechanism, 80 lb (216 gsm) for the cover
- Scraps of colored cardstock for the artwork
- A metal ruler and a pencil
- Scissors, or a craft knife and cutting mat
- A bone folder or an empty ballpoint pen for scoring
- Fine-tip liquid glue or strong double-sided tape
The measurements below are for an A2 card, 4.25 x 5.5 inches folded. Cut the cover 8.5 x 5.5 inches and the inner sheet 8.25 x 5.25 inches, so it never shows past the cover. Score each across the middle of its long side and fold it.
Hold the card so it opens like a laptop. The upper half is the back wall, the lower half is the floor.
The Rule That Keeps a Pop-Up Hidden
A step made with a 1-inch cut does not stay within 1 inch of the fold when the card is shut. It folds outward and reaches 2 inches from the fold, and whatever is glued to its front reaches farther. Two checks follow from that:
- The cut is at most half the distance from the fold to the edge. On this inner sheet, 8.25 inches folded in half, that distance is 4 1/8 inches (10.5 cm). A 2-inch cut would bring the closed step to an eighth of an inch from the edge, so keep cuts to 1.75 inches or less.
- Cut length plus the height of the artwork stays under the fold-to-edge distance. Measure the artwork from its bottom edge, which sits on the floor.
| Cut length | Step height and depth | Reach when closed | Tallest artwork on an A2 card |
|---|---|---|---|
| 3/4 inch | 3/4 inch | 1 1/2 inches | 3 1/8 inches |
| 1 inch | 1 inch | 2 inches | 2 7/8 inches |
| 1 1/2 inches | 1 1/2 inches | 3 inches | 2 3/8 inches |
| 1 3/4 inches | 1 3/4 inches | 3 1/2 inches | 2 1/8 inches |
The last column is 4 1/8 inches minus the cut, minus a quarter inch to spare. For a larger card, measure from fold to edge and do the same subtraction: a 5 x 7 card with an inner sheet 4 7/8 inches deep on each half leaves 3 5/8 inches of artwork above a 1-inch cut.
Mechanism 1: The Box Step
Learn this one first. It is cut straight out of the inner sheet.
- Keep the inner sheet folded. Along the folded edge, mark two points 1 inch apart, centered on the sheet.
- From each mark, draw a line 1 inch long, square to the fold. The two lines have to be the same length and parallel, or the step will twist.
- Cut along both lines through both layers, stopping exactly at the end of each line.
- Fold the tab between the cuts over, crease it along the line that joins the ends of the cuts, then fold it back the other way and crease again.
- Open the sheet to a right angle and push the tab through from behind, so it stands inside as a step. Close the sheet and press it flat.
You now have a step 1 inch high and 1 inch deep. Glue the artwork to its front face only, with the bottom edge at the crease where the step meets the floor. Artwork that is also stuck to the top of the step stops the card from closing.
For a scene, cut three steps of different lengths. Each stands a different distance from the back wall, so a cake, a gift and a row of balloons sit one behind another. Leave at least half an inch of uncut paper between neighboring steps.
Mechanism 2: Floating Layers on Glued-In Strips
The same geometry can be built from a separate strip. Nothing is cut out of the card, so there are no holes to hide, and strips set at several depths make the layers seem to float.
Cut a strip half an inch wide and 3 inches long from 65 lb cardstock. Score it at 1/2, 1 1/2 and 2 1/2 inches from one end. That gives a glue tab, two 1-inch sides and a second glue tab.
- Glue one tab to the back wall so the first score line sits exactly 1 inch above the card's center fold.
- Fold the strip flat against the wall, pointing toward the open edge of the card.
- Put glue on the loose tab and close the card. The tab lands on the floor 1 inch from the fold.
The two sides of the strip must equal the two distances from the center fold, so a layer that stands farther forward needs longer sides and a higher wall tab. A wide layer, such as a banner, needs two matching strips near its ends.
Mechanism 3: The V-Fold
A box step shows best with the card open at a right angle and flattens when the card is opened all the way. A V-fold stands up when the card lies fully open, so it suits a card that opens like a book.
- Cut a shape, such as a large number or a cake, with an extra half-inch strip along the bottom. Fold the whole piece in half down the middle.
- Score the line where the strip meets the shape. Snip the strip along the center fold up to that line, so it becomes two tabs, and fold both tabs back.
- Open the piece like a half-open book and stand it on the open card with its fold exactly on the card's center fold. The two tabs now form a V, and both must sit at the same angle to the center fold.
- Glue one tab down. Put glue on the other, fold the piece flat onto the glued side, and close the card so the second tab sets itself in the mirrored position.
Place the point of the V near the middle of the card's height, because a piece glued close to the top or bottom edge pokes out. Before gluing, hold the tabs with removable tape, close the card and look at all three open edges.
Paper Weight and Glue
The mechanism wants 65 to 80 lb cover (176 to 216 gsm), stiff enough to stand and light enough to fold back on itself. Cricut's card-making guide suggests the heavier end, 80 lb, for pop-up parts inside a sturdy base. For a step cut by hand in an A2 card, 65 lb reverses its fold more willingly. Printer paper sags under the artwork, and stock of 100 lb or more tends to fight the fold, so the card springs open. More on weights in the best paper for handmade cards.
Score every fold first, and keep the artwork to one layer of light cardstock. Use a thin line of liquid glue or strong double-sided tape, since glue stick tends to let go on a moving part. Open and close the card a few times while the glue is soft.
Assemble and Decorate
Work in this order: test the mechanism, write the message while the floor and back wall are still easy to reach, glue the artwork, then glue the inner sheet into the cover. Spread glue on the back of one half of the inner sheet, staying clear of the steps, and press it into the cover with the folds lined up. Then glue the other half and close the cover over it.
Simple, bold shapes read best on a step. Pieces from a card cut file make clean pop-up artwork, and making birthday cards with a Cricut covers the settings.
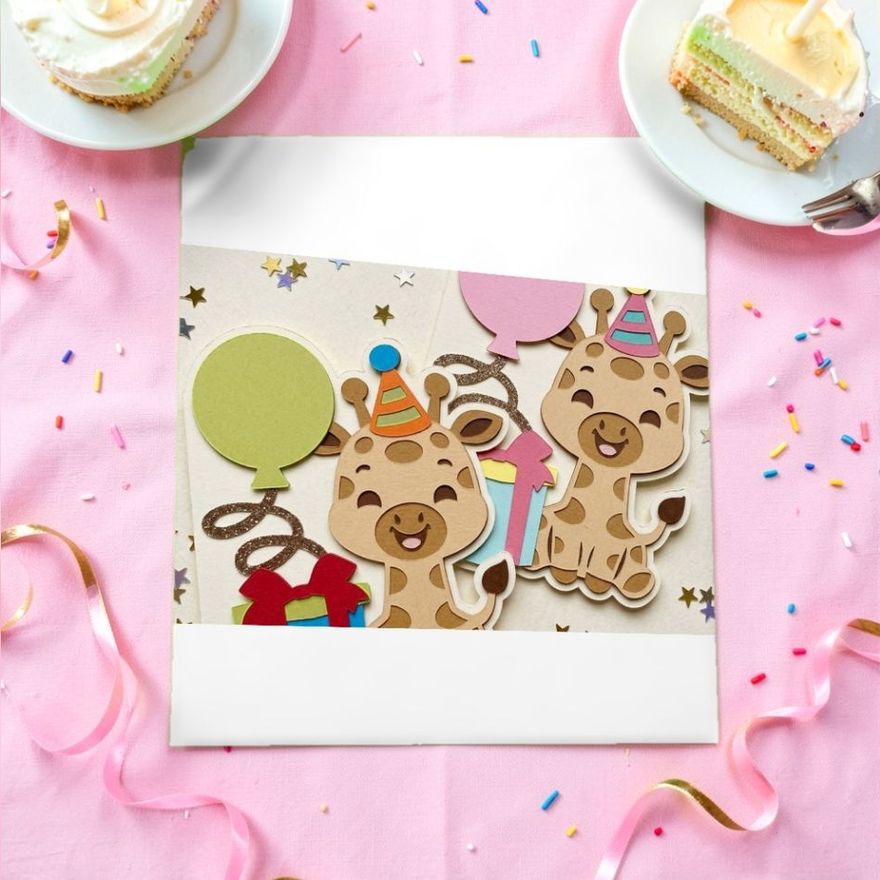
None of our collections has a design named as a pop-up. The closest by name are the 3D cards among the cute and aesthetic birthday cards, which get their depth from stacked layers. The first two below are named as 3D designs, and all three are animals, the kind of subject that suits a step.
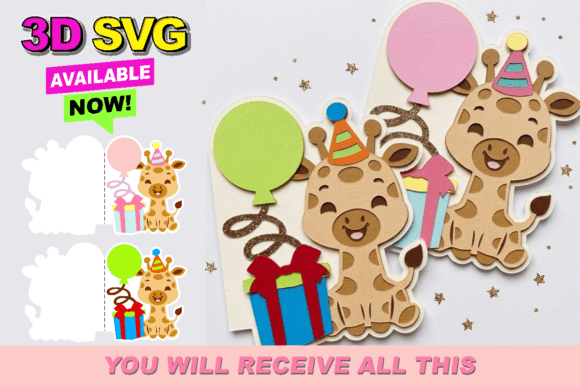
Cute Giraffe Birthday Card 3D SVG
See the listing ↗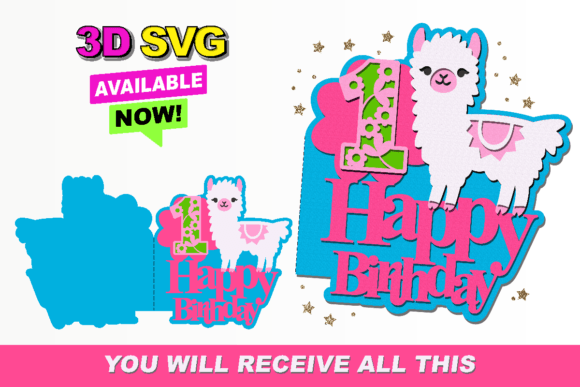
Cute Llama Happy Birthday Card 3D SVG
See the listing ↗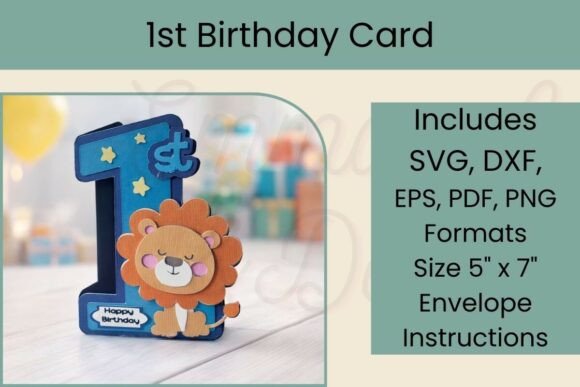
Cute Lion 1st Birthday Card SVG
See the listing ↗From the collection Cute & Aesthetic Birthday Cards. New Creative Fabrica members get 10 free downloads, and any of these can be one of them.
Tools for Cutting and Gluing a Pop-Up
A pop-up asks for accurate cuts and a glue that holds on a moving part. These match the tools and adhesives used in the steps above.
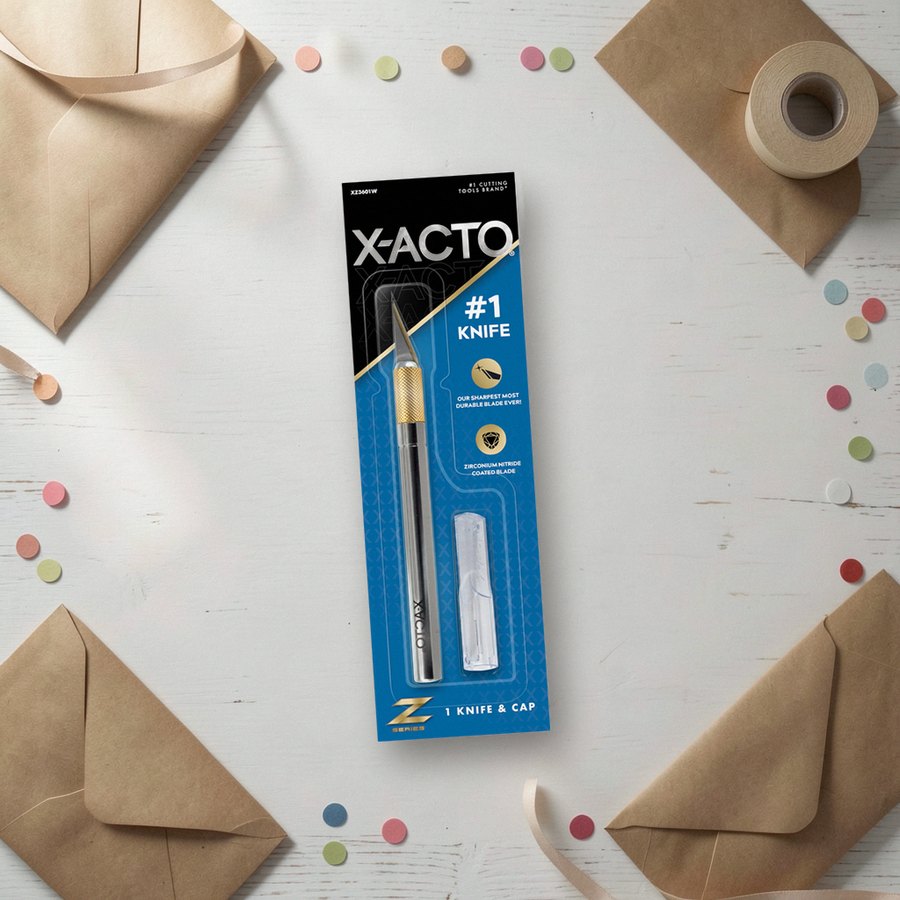 Precision craft knifeX-ActoSee it on Amazon
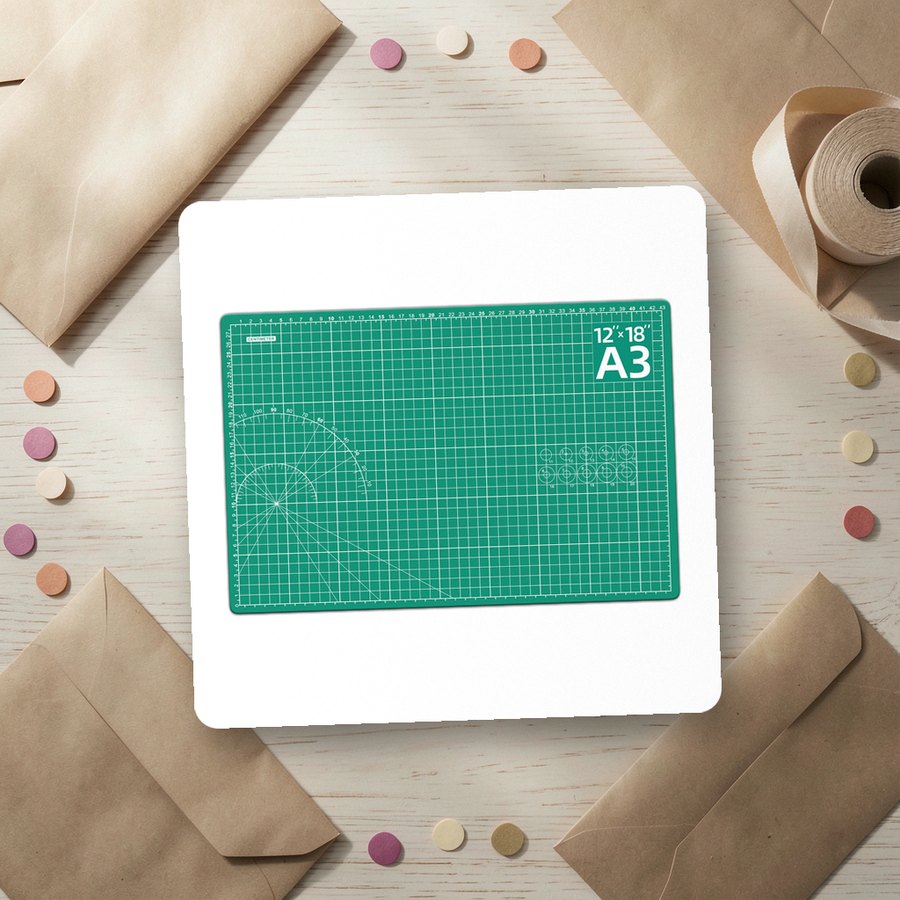 Self-healing cutting mat, 12 x 18 inDIYSELFSee it on Amazon
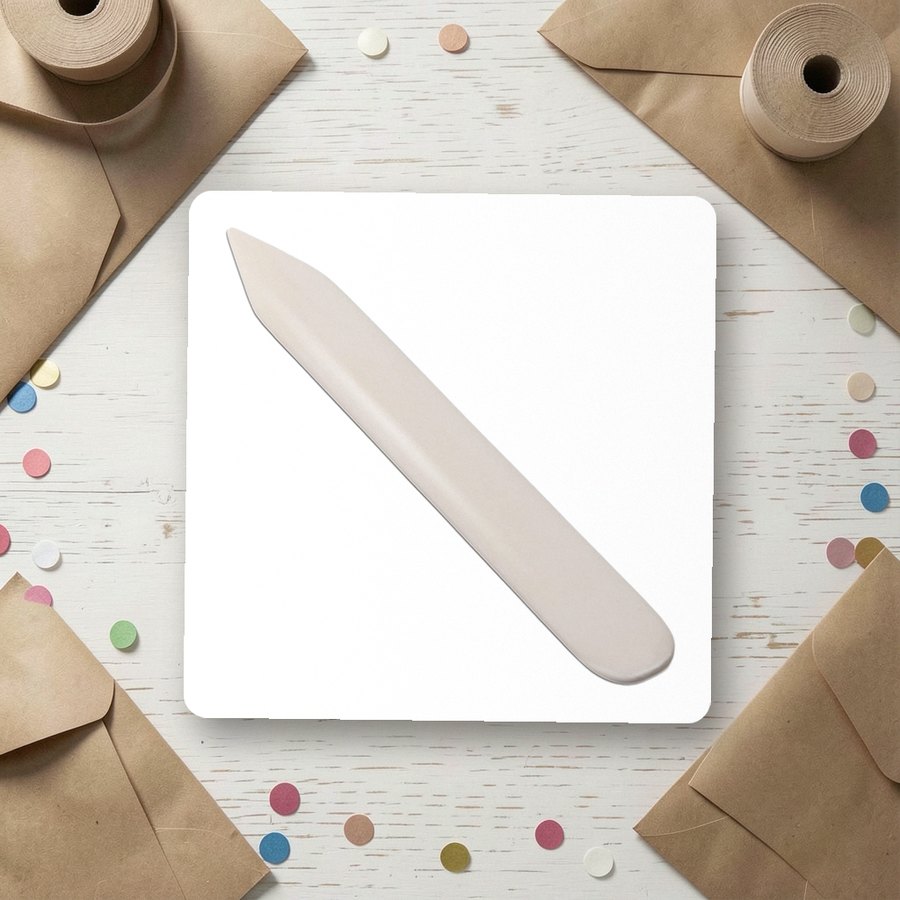 Bone folder for scoring and creasingVENCINKSee it on Amazon
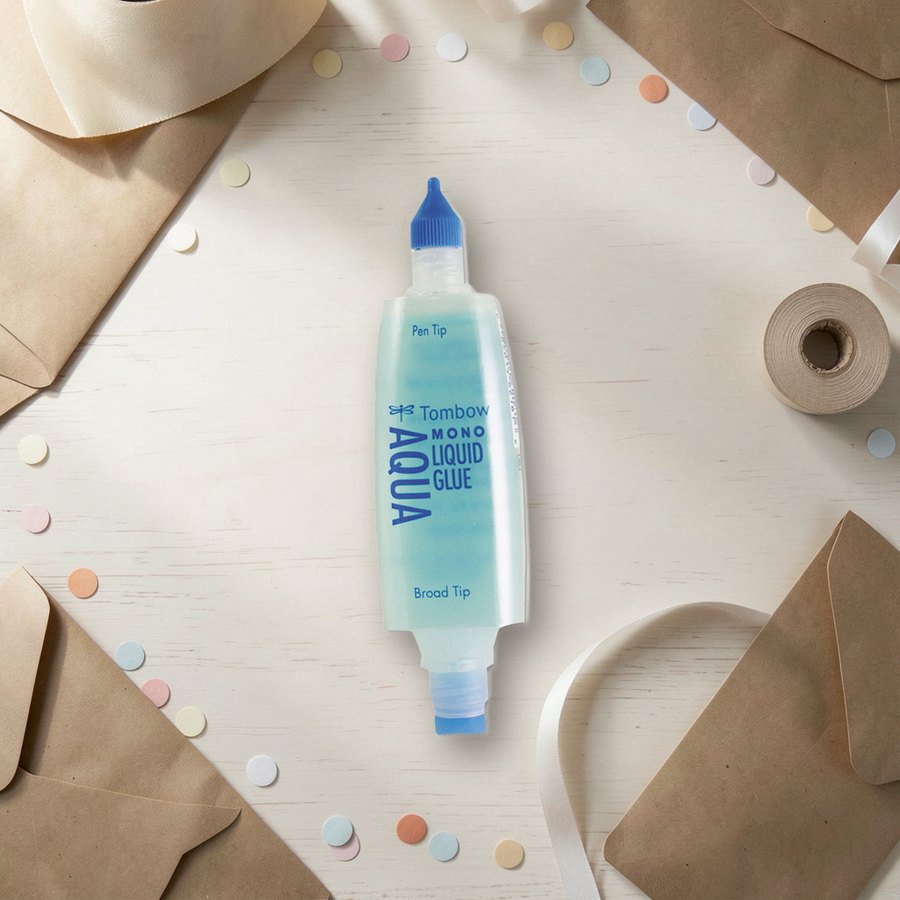 Liquid glue with fine and broad tipsTombowSee it on Amazon
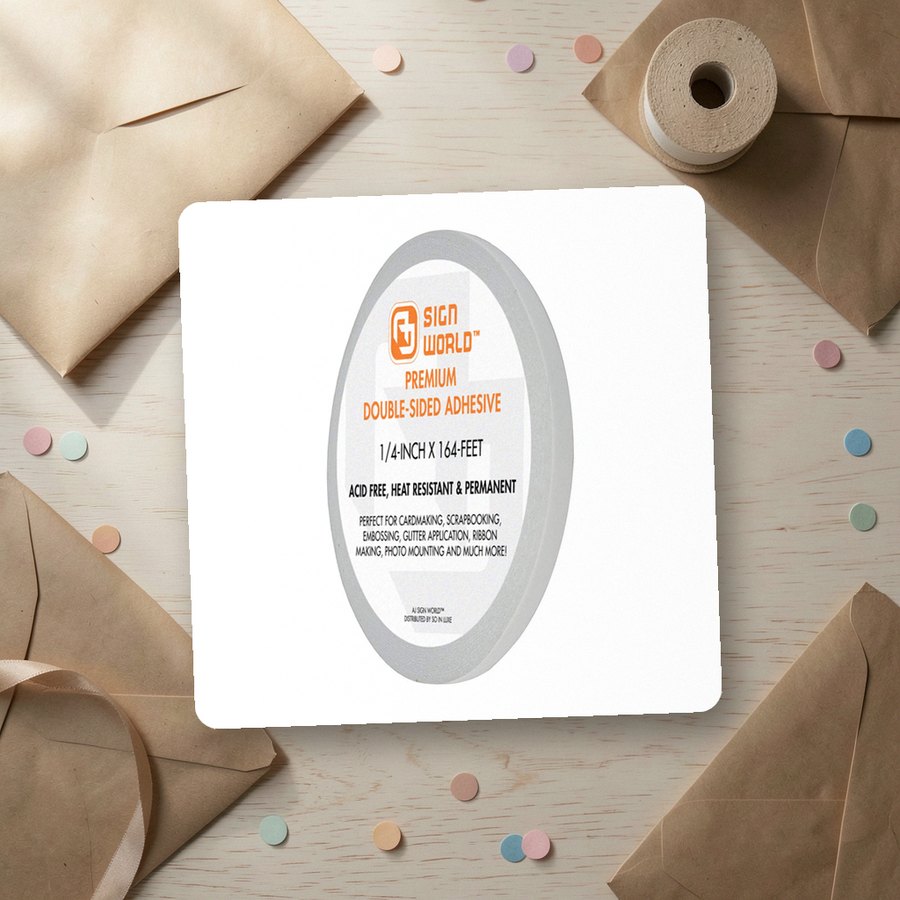 Double-sided tape, 1/4 inchAJ Sign WorldSee it on Amazon
As an Amazon Associate we earn from qualifying purchases.
Common Mistakes and How to Fix Them
- The pop-up sticks out of the closed card. The cut is too long or the artwork too tall. Trim the artwork, or redo the step with a shorter cut.
- The card will not stay shut. The mechanism paper is too heavy, the artwork is too thick, or glue reached the top of the step.
- The step leans to one side. The two cuts are different lengths, or the sides of a glued-in strip are unequal.
Make the first one from copy paper: fold a sheet, cut a single 1-inch step and watch how the fold reverses. For a different kind of project, the handmade birthday card ideas are sorted by the time each one takes.
Card Collections for This Guide
Cute & Aesthetic Birthday Cards8 hand-picked · open the collection → Birthday Card Ideas8 hand-picked · open the collection →
 DIY Birthday Cards8 hand-picked · open the collection →