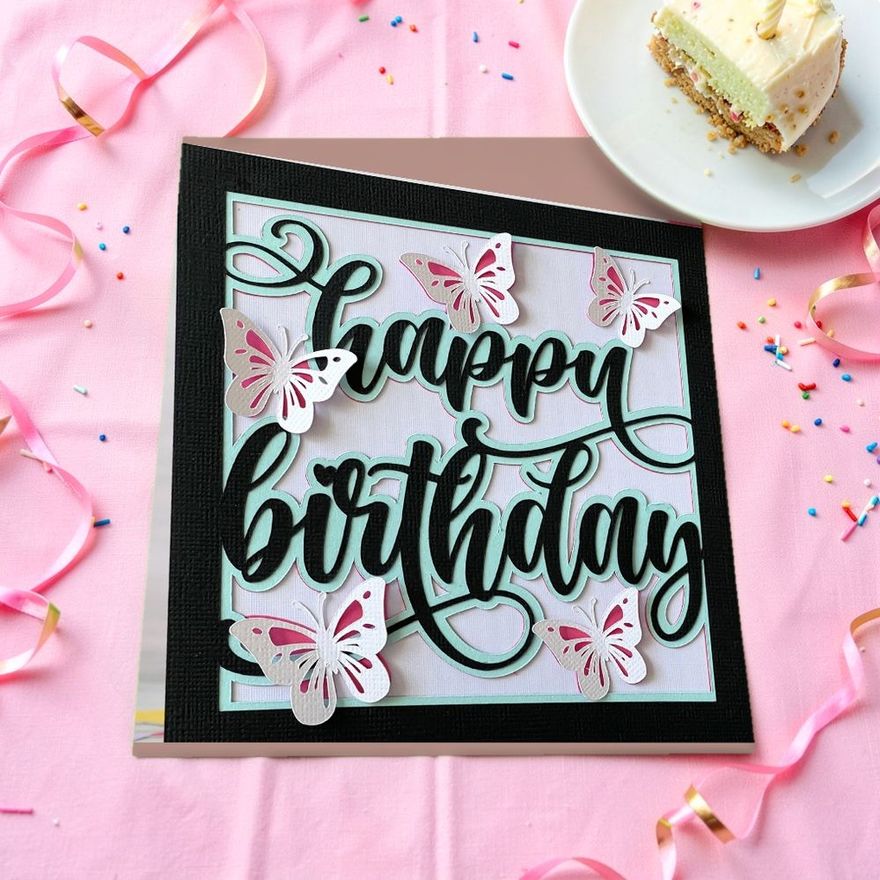
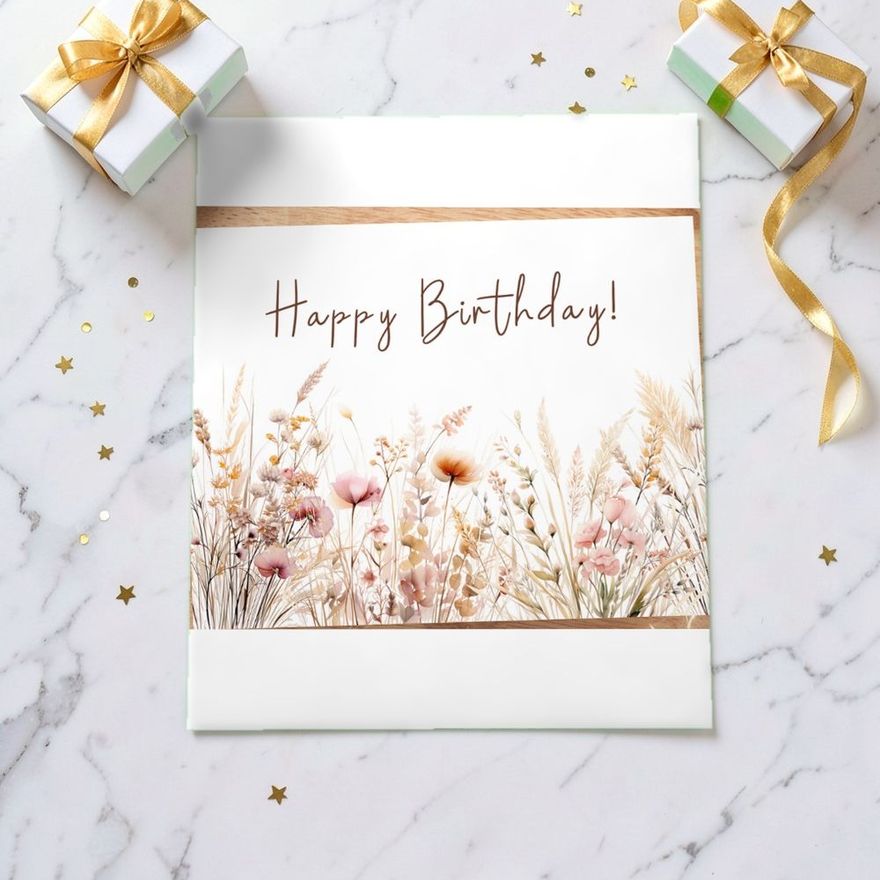
The fastest handmade birthday card is a printed design folded in half. The most involved is a shaker or pop-up built from a dozen cut pieces. Everything in between depends on two things: how much time you have and which tools are already on your table. The ideas below are sorted by effort, each with its supply list, so you can pick the one that fits the hour you actually have.
Pick by Time and Tools
Skill matters less than people expect. A neat fold and a straight cut make a simple card look finished, and both come from the right tool, not from talent.
| Card type | Rough time | What you need beyond cardstock and glue |
|---|---|---|
| Print and fold | 15 minutes | Printer, paper trimmer, something to score with |
| Cut and layer | 30–45 minutes | Cutting machine, or a craft knife and mat |
| Watercolor | 30–60 minutes plus drying | Watercolor paper, a round brush, a small paint set |
| Pop-up | 45–60 minutes | Ruler, pencil, scissors, scoring tool |
| Shaker | About an hour | Clear acetate, foam tape, sequins or beads |
The times are rough guides. They assume a standard A2 card (4.25 x 5.5 inches folded, about 10.8 x 14 cm) and a design you have already chosen. Choosing usually takes longer than making.
Level 1: Print and Fold
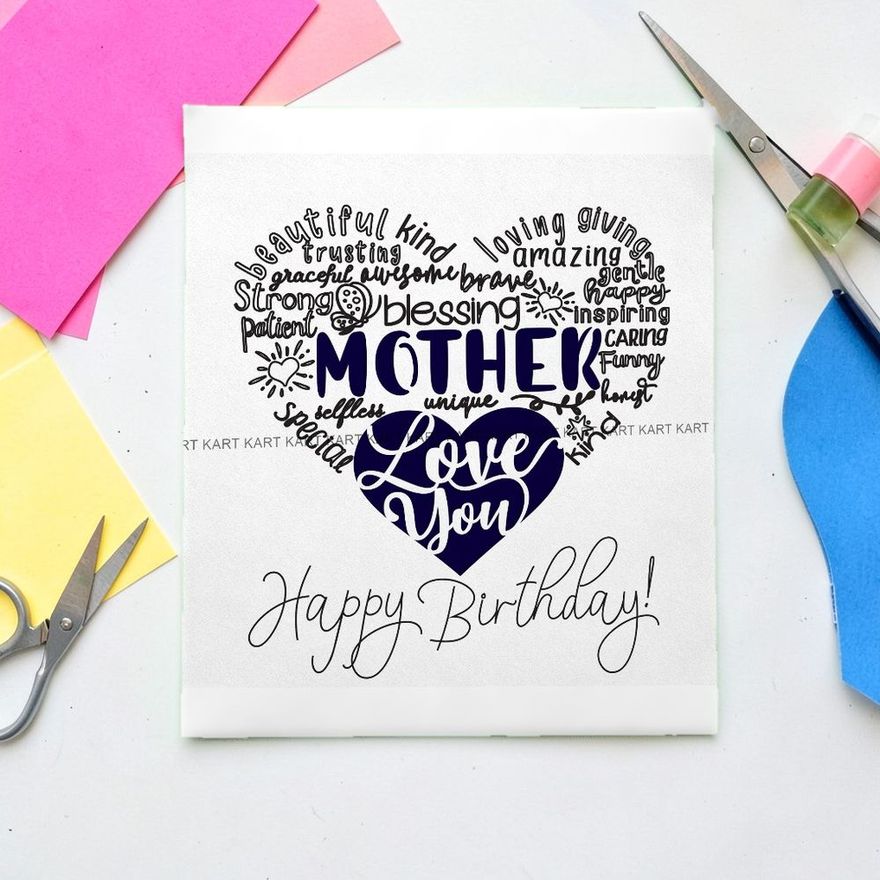
A printable card is a PDF or image file that you print on cardstock, trim, score and fold. It is the right choice when the birthday is tomorrow, when you need eight cards for a class, or when you like a painted or illustrated look and do not paint.
What makes a printed card feel handmade is the one thing you add by hand:
- Letter the name on the front with a brush pen or a white gel pen.
- Mount the printed panel on a colored card base so a narrow border shows.
- Run a strip of washi tape or ribbon across the lower third.
- Line the envelope with a scrap of patterned paper.
Use smooth matte cardstock, 65 to 80 lb cover (176 to 216 gsm), whichever your printer is rated to feed, and print at actual size, not "fit to page". The full routine, including printing an inside message, is in the guide to printing greeting cards at home.
These three are printables by name, and balloons, pastels and mermaids cover most ages between them.
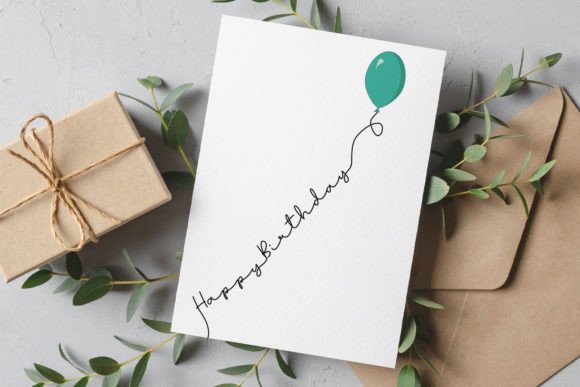
Birthday Card with Balloon Printable
See the listing ↗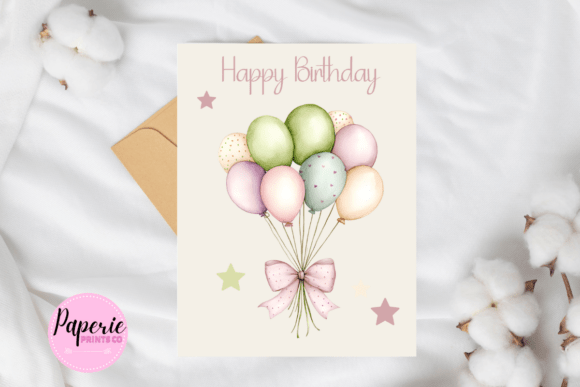
Happy Birthday Card Pastel Printable
See the listing ↗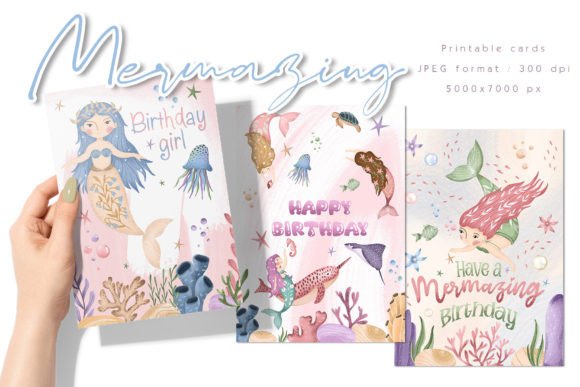
Mermaid Birthday Card Printable
See the listing ↗From the collection Printable Birthday Cards. New Creative Fabrica members get 10 free downloads, and any of these can be one of them.
Level 2: Cut and Layer
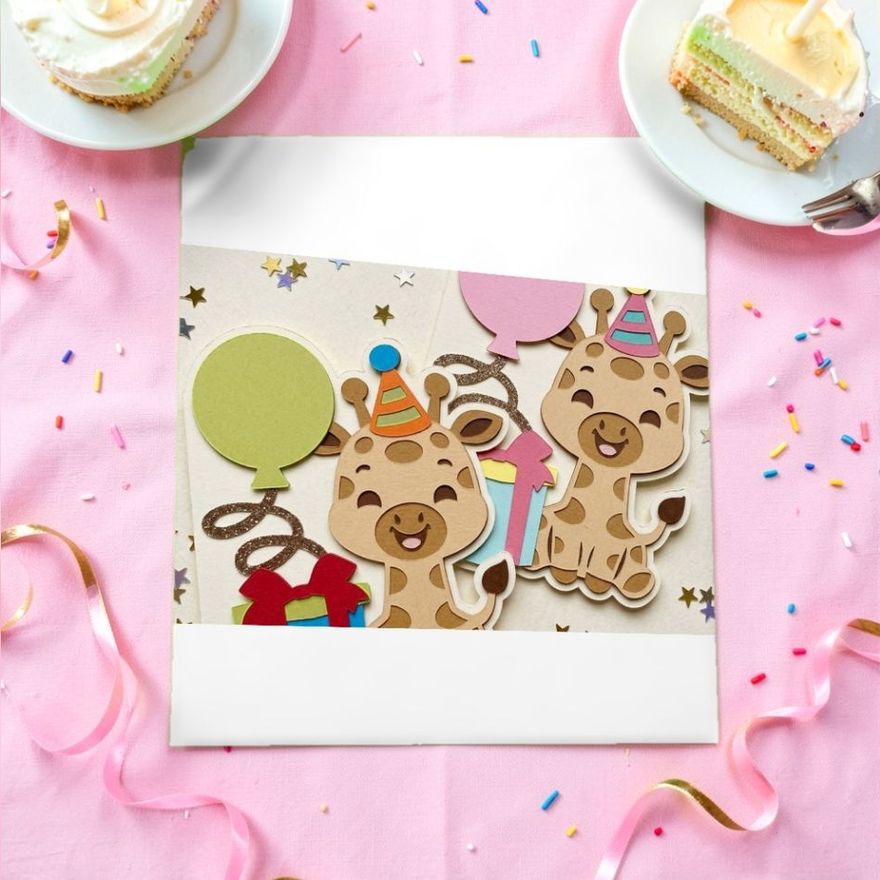
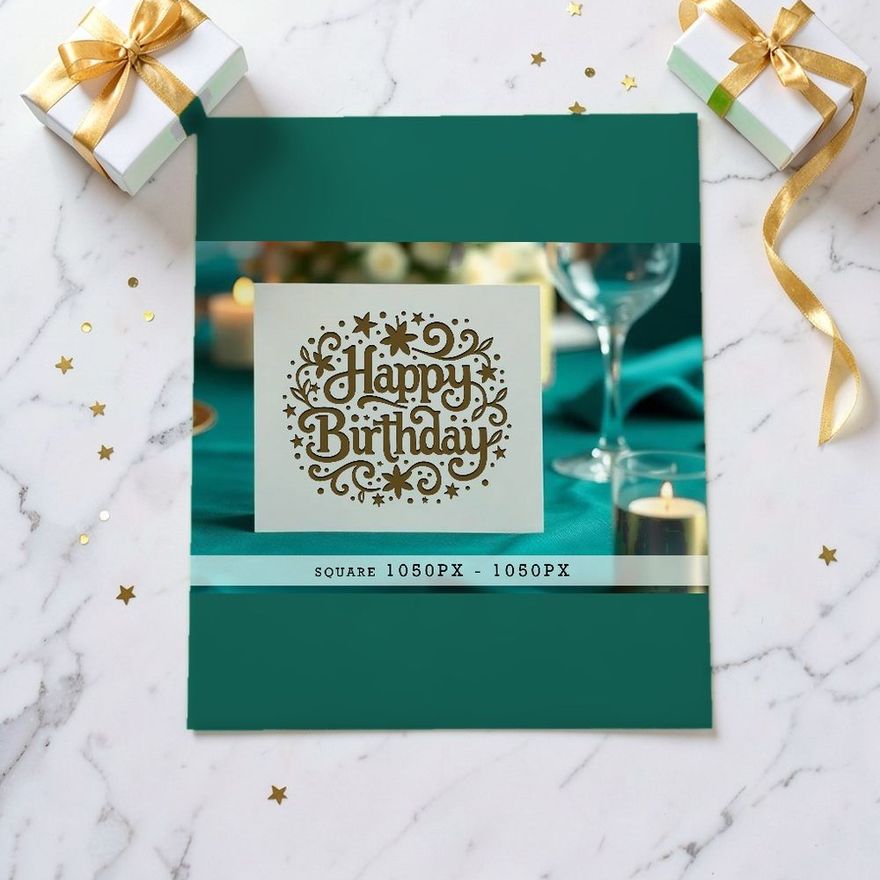
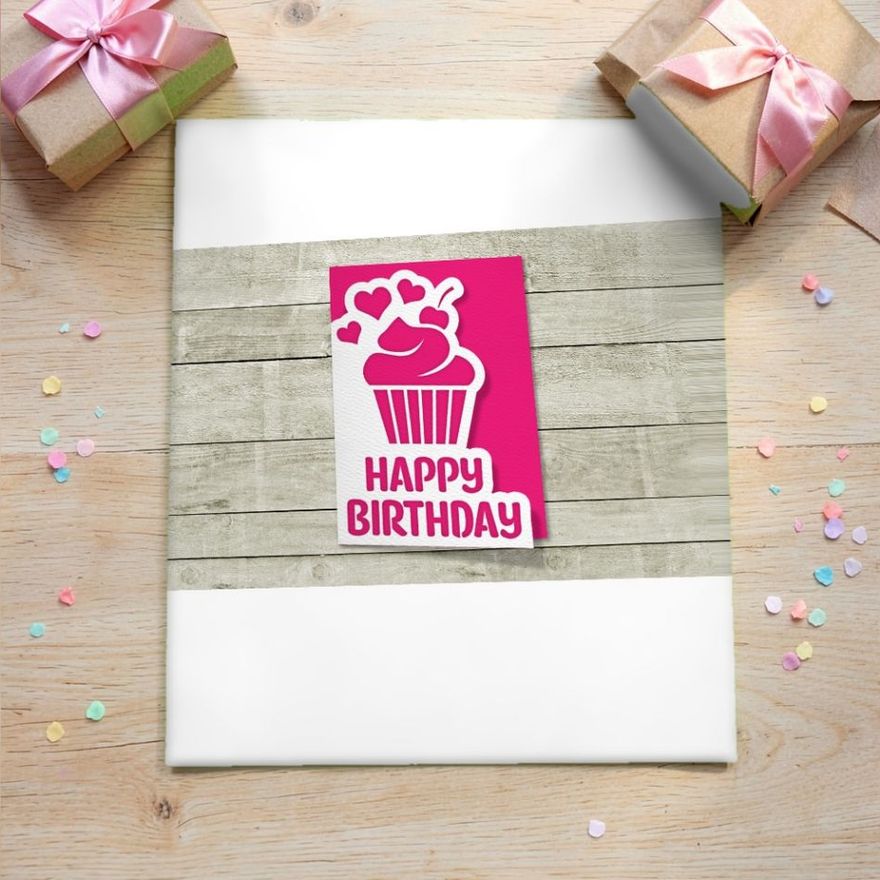
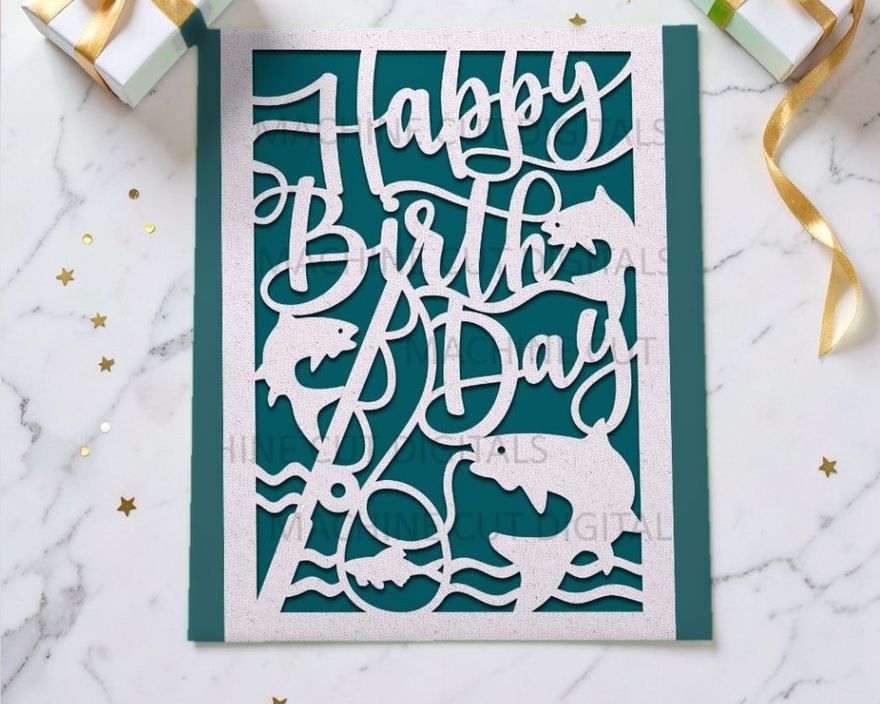
A paper-cut card has a design cut out of the front panel, with a contrasting color behind it. A layered card stacks several cut pieces, each a little smaller or a different color, to build a picture with real depth. Both start from an SVG cut file if you own a Cricut or a similar machine, and both can be done by hand if the shapes are simple.
A few choices decide how the result looks:
- Contrast. Put a dark layer behind a light cut-out, or the reverse. Two mid-tones side by side disappear.
- A short palette. Three colors plus white is plenty. More than that and the design turns busy.
- Lift. Small foam squares between two layers cast a shadow line, and that shadow is what reads as "3D".
- Glue. A fine-tip liquid glue for thin lettering, double-sided tape for large flat panels.
Cutting by hand, choose shapes with long curves and few inside corners, such as balloons, a cake or a big number. Leave lace-like lettering to a machine. Machine settings, score lines and the order to glue layers in are covered in making birthday cards with a Cricut.
The three below are named as paper-cut or layered designs, which is the style this level is about.
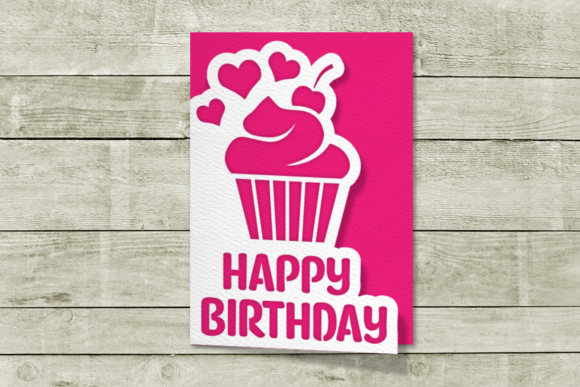
Papercut Birthday Card with Cupcake
See the listing ↗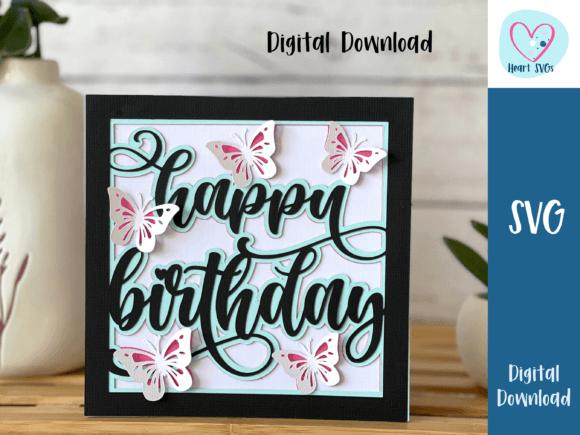
BUTTERFLY Happy Birthday Card SVG
See the listing ↗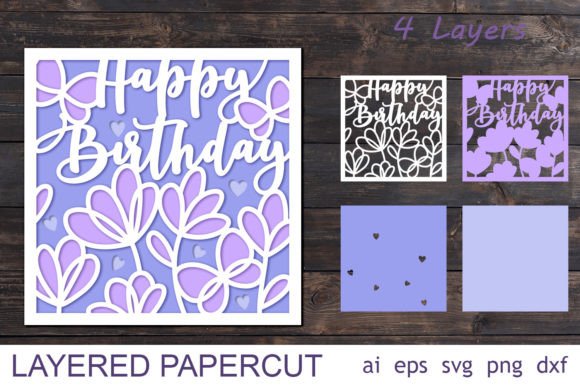
3d Layered Happy Birthday Card Papercut
See the listing ↗From the collection Birthday Card Ideas. New Creative Fabrica members get 10 free downloads, and any of these can be one of them.
Level 3: Watercolor
You do not need to draw to paint a birthday card. Three ideas work with no drawing at all:
- Balloon blobs. Paint three or four loose ovals in different colors and let them dry completely. Add strings and a small knot under each with a fine black pen.
- A color wash. Brush clean water over the panel, touch in two colors that sit next to each other on the color wheel, and let them run together. Letter "Happy Birthday" on top once it is dry.
- A dotted wreath. Lightly pencil a circle, then dab small petals and leaves along it in two or three colors. Write the name in the middle.
Paint on watercolor paper, 140 lb (300 gsm), because ordinary cardstock buckles and pills when it gets wet. Tape the edges to the table while you work. Then trim the painted piece to about 4 x 5.25 inches and mount it on a folded card base. Painting straight onto the base usually warps the whole card.
If you like the look and not the mess, printed watercolor designs get you most of the way there. The watercolor and floral birthday cards collection has both printable and cut-file versions.
Level 4: Pop-Up
A pop-up card hides a paper mechanism that stands up when the card opens. The simplest one, the box step, is two parallel cuts across the fold of an inner sheet. Push the tab between them forward and you have a small ledge to glue a cake, a stack of presents or a number onto.
Good first pop-up designs for a birthday:
- One step in the center with a cake, and candles cut from narrow strips.
- Three steps of different depths with a gift box on each, so they stand one behind another.
- A folded banner that stretches across the card as it opens.
Use 65–80 lb cover cardstock (176–216 gsm) for the mechanism and write your message before you glue anything in front of it. The measurements, and the reason pop-ups sometimes stick out of a closed card, are in the step-by-step guide to making a pop-up birthday card.
Level 5: Shaker Card
A shaker card has a sealed window on the front with loose sequins inside that move when the card is tilted. It looks complicated and is really a sandwich of four layers:
- Cut a window in a front panel. A circle, a balloon or a cake outline all work.
- Glue a piece of clear acetate behind the window. The clear lid of a food container or a piece of packaging does the job.
- Build a wall of foam tape around the window on the back, with no gaps at the corners. A gap is where the sequins escape.
- Drop in the filler, peel the tape backing, and press a backing panel on to seal it. Then mount the whole piece on the card base.
Use less filler than looks right: a small pile in the middle of the window, with most of the space left empty so the pieces can move. Before adding it, dab the exposed inner edges of the foam tape with an anti-static powder tool, or a little cornstarch or baby powder, so the sequins do not cling to the adhesive. Keep the powder off the acetate, which it clouds. If sequins still cling to the window from static, wipe the acetate with a used dryer sheet before sealing.
A shaker card is lumpy, and often more than the quarter inch USPS allows for a letter, so it will not mail as an ordinary one. Hand it over in person, or take it to the post office counter and ask what it needs.
Match the Card to the Person
The technique should fit whoever opens the envelope.
- Young children like cards that do something. Pop-ups and shakers win here, with their name and new age in large letters.
- Parents and grandparents tend to keep cards. A watercolor or floral design with a few handwritten lines suits them better than a joke.
- Friends are the right audience for a pun, a shared reference or a layered design in their favorite colors.
- Coworkers usually get a group card. Go larger, 5 x 7 inches, and keep the inside plain so there is room for signatures.
Supplies for the Five Levels
Most of the cards above share the same materials. The full kit is listed in the next section; these are five of its staples.
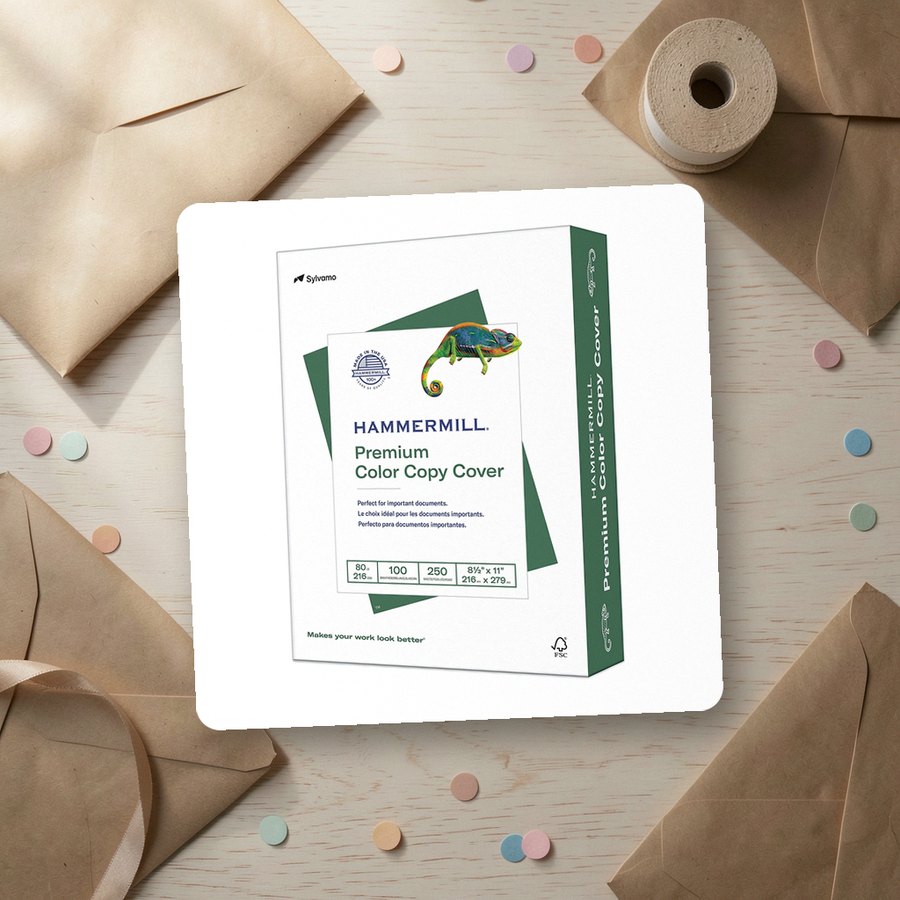 White cardstock, 80 lb coverHammermillSee it on Amazon
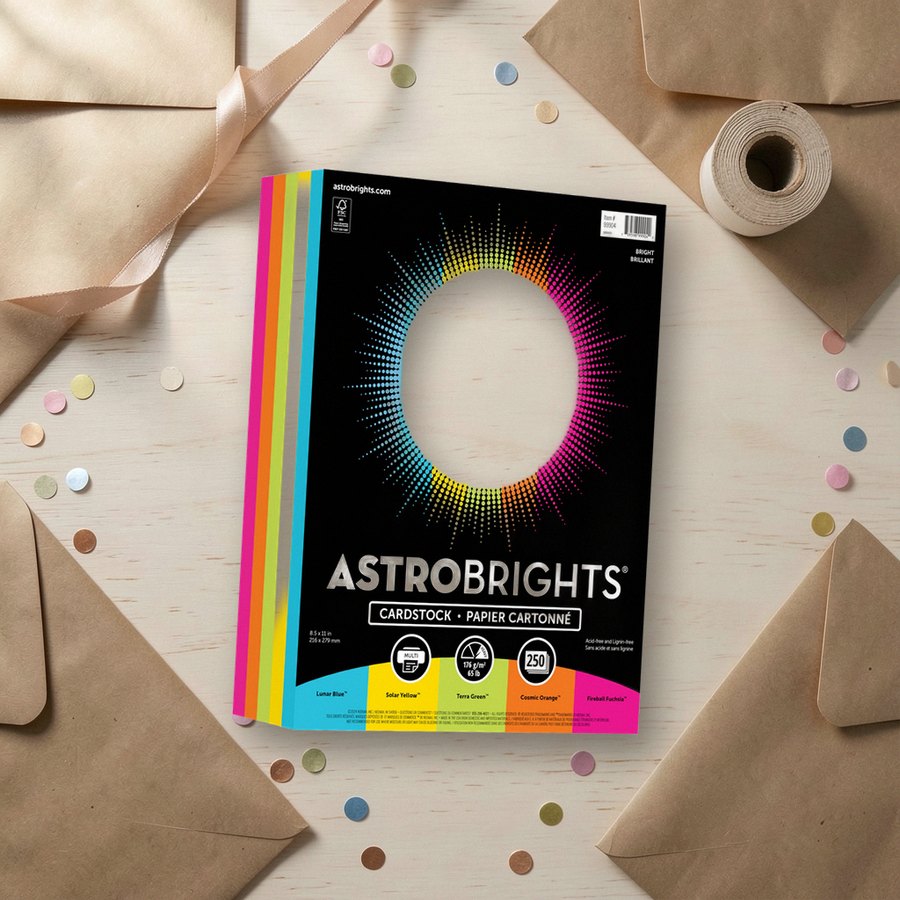 Colored cardstock, 65 lbAstrobrightsSee it on Amazon
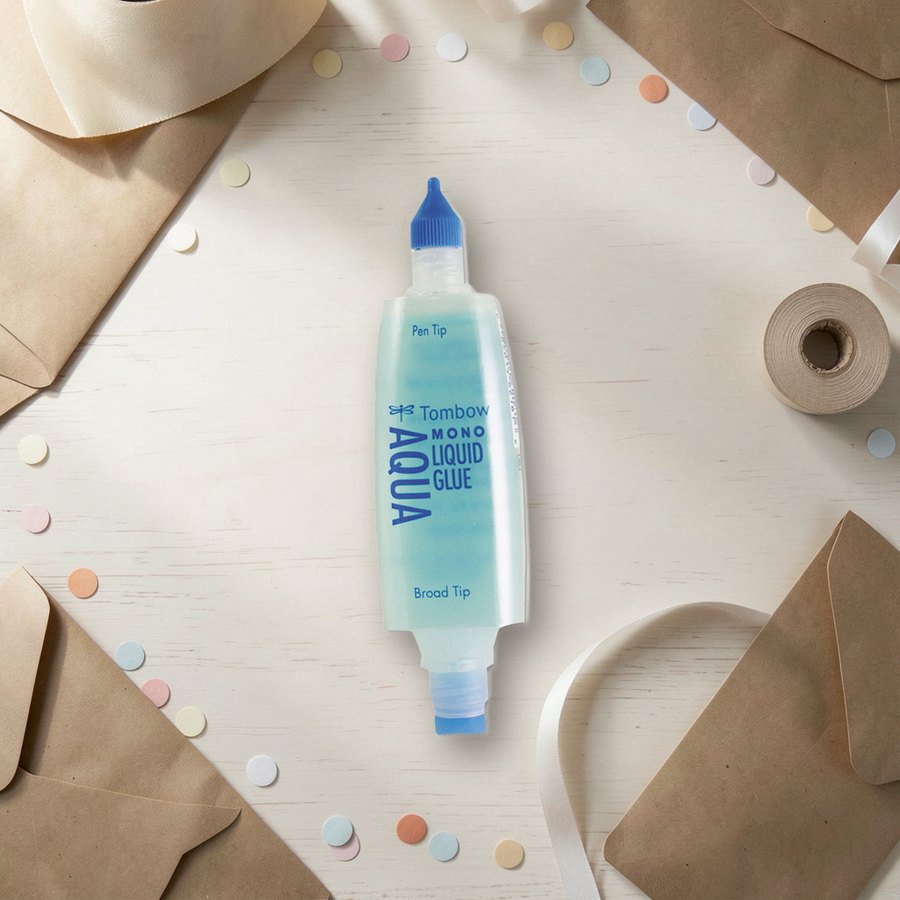 Liquid glue with fine and broad tipsTombowSee it on Amazon
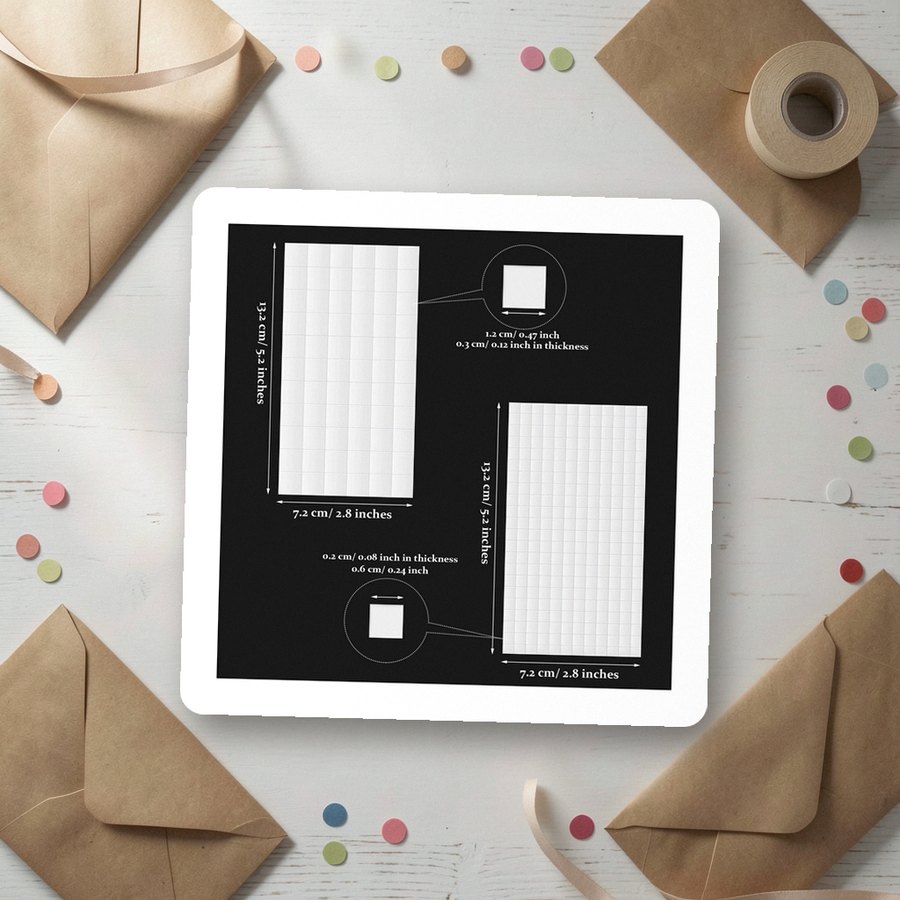 Double-sided foam squaresOutusSee it on Amazon
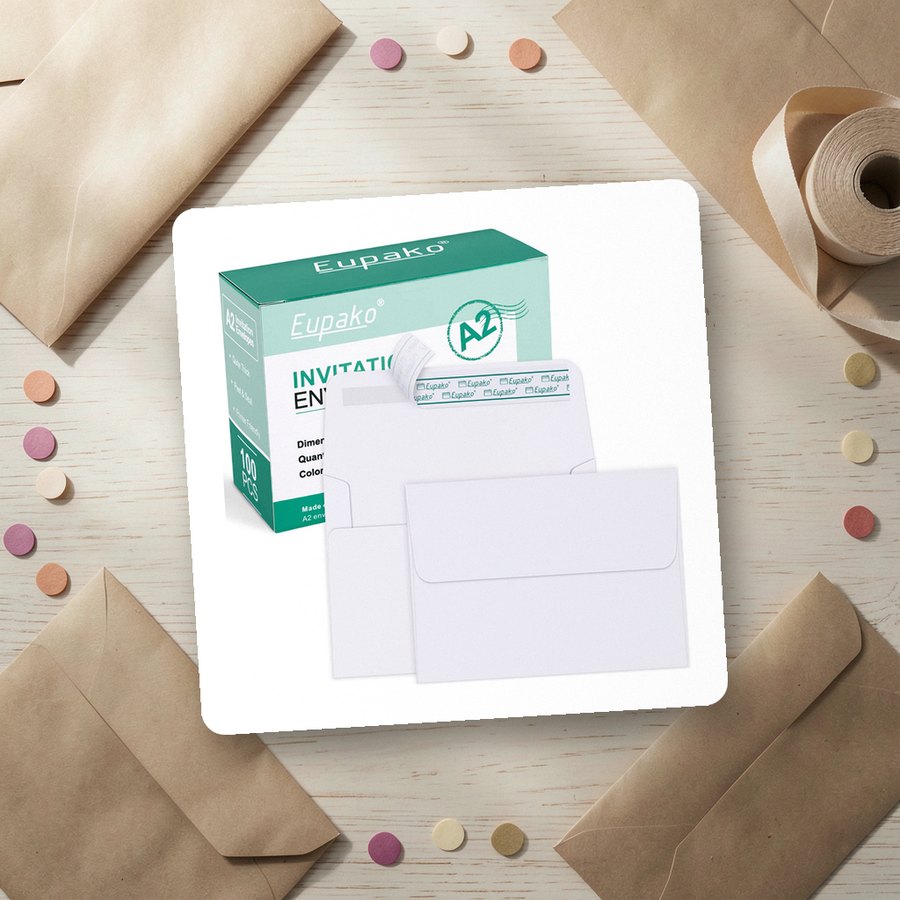 White A2 envelopesEupakoSee it on Amazon
As an Amazon Associate we earn from qualifying purchases.
A Basic Kit That Covers All Five
You can make every card in this article with a short list of supplies:
- White cardstock, 80 lb cover (216 gsm), for card bases, and a pack of 65 lb (176 gsm) in mixed colors for layers
- A paper trimmer, or a metal ruler and craft knife on a cutting mat
- A bone folder or scoring board
- Fine-tip liquid glue, double-sided tape and foam squares
- A black fine-liner and a white gel pen
- A2 envelopes, 4 3/8 x 5 3/4 inches
Why those two weights, and what "lb" really measures, is explained in the best paper for handmade cards. Start one level below where you think you are, finish a card in a single sitting, and move up a level for the next birthday on your calendar.
Card Collections for This Guide
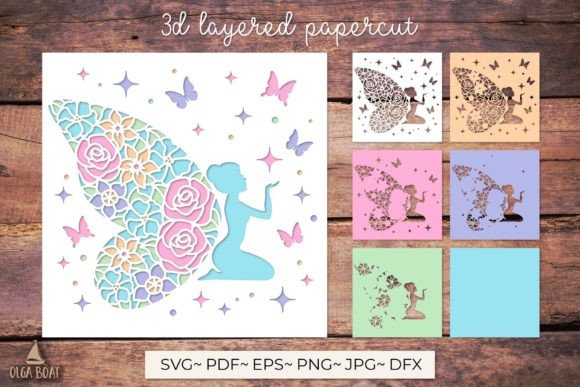 Birthday Card Ideas8 hand-picked · open the collection →
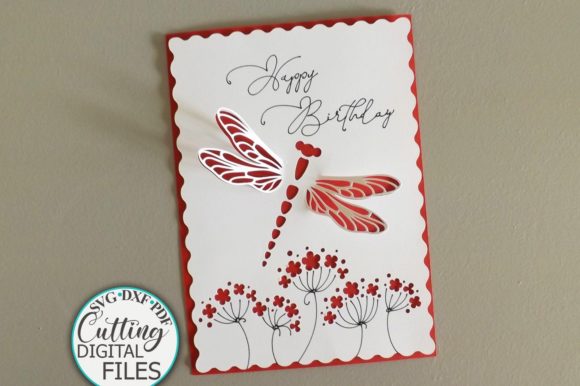 DIY Birthday Cards8 hand-picked · open the collection →
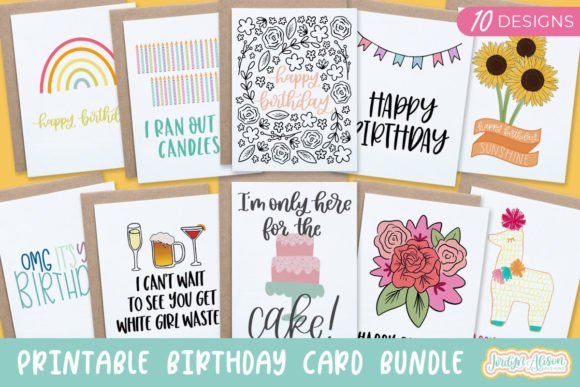 Printable Birthday Cards8 hand-picked · open the collection →